Wait — software from a firewood company?
Phoenix Nest started with a chainsaw, a $300 log splitter, and 35 years of writing code. We build things. Sometimes that's a computer-controlled firewood processor. Sometimes it's a MIL-STD-188-110A compliant HF data modem for ham radio.
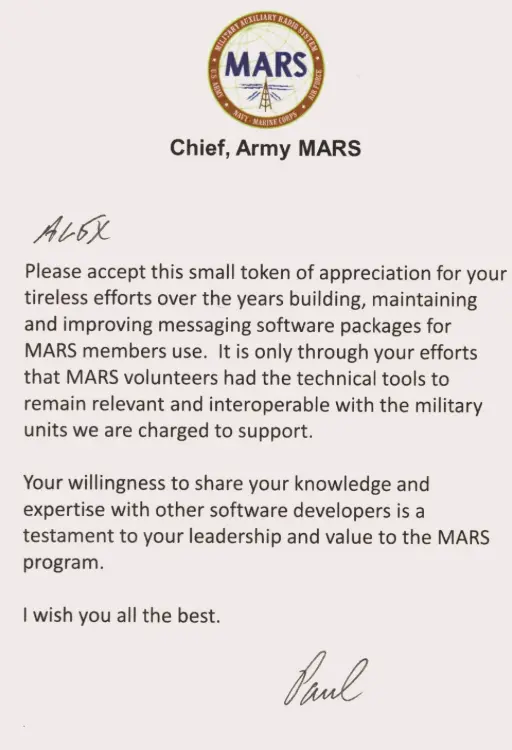
The owner has been a Military Auxiliary Radio System (MARS) member since 2009, serving in both Navy MARS (NNN0VOC) and Army MARS. Amateur callsign KY4OLB. When you've spent 15+ years handling military auxiliary HF traffic and you can't find a free, reliable MIL-STD modem for the amateur and emergency comms community — you build one.
These projects are tools we built for ourselves and decided to share. Free for personal use. Same philosophy as the firewood: solve the problem, build it right, pass it along.
Phoenix Nest HF Modem
v1.2.0 • Released 8 DEC 2025 • Windows x64
Software implementation of the MIL-STD-188-110A Appendix C waveform. Free for amateur, emergency, marine, and personal use. Interoperable with compliant military and commercial systems.